Introduction to WorkSpace
Create a WorkSpace
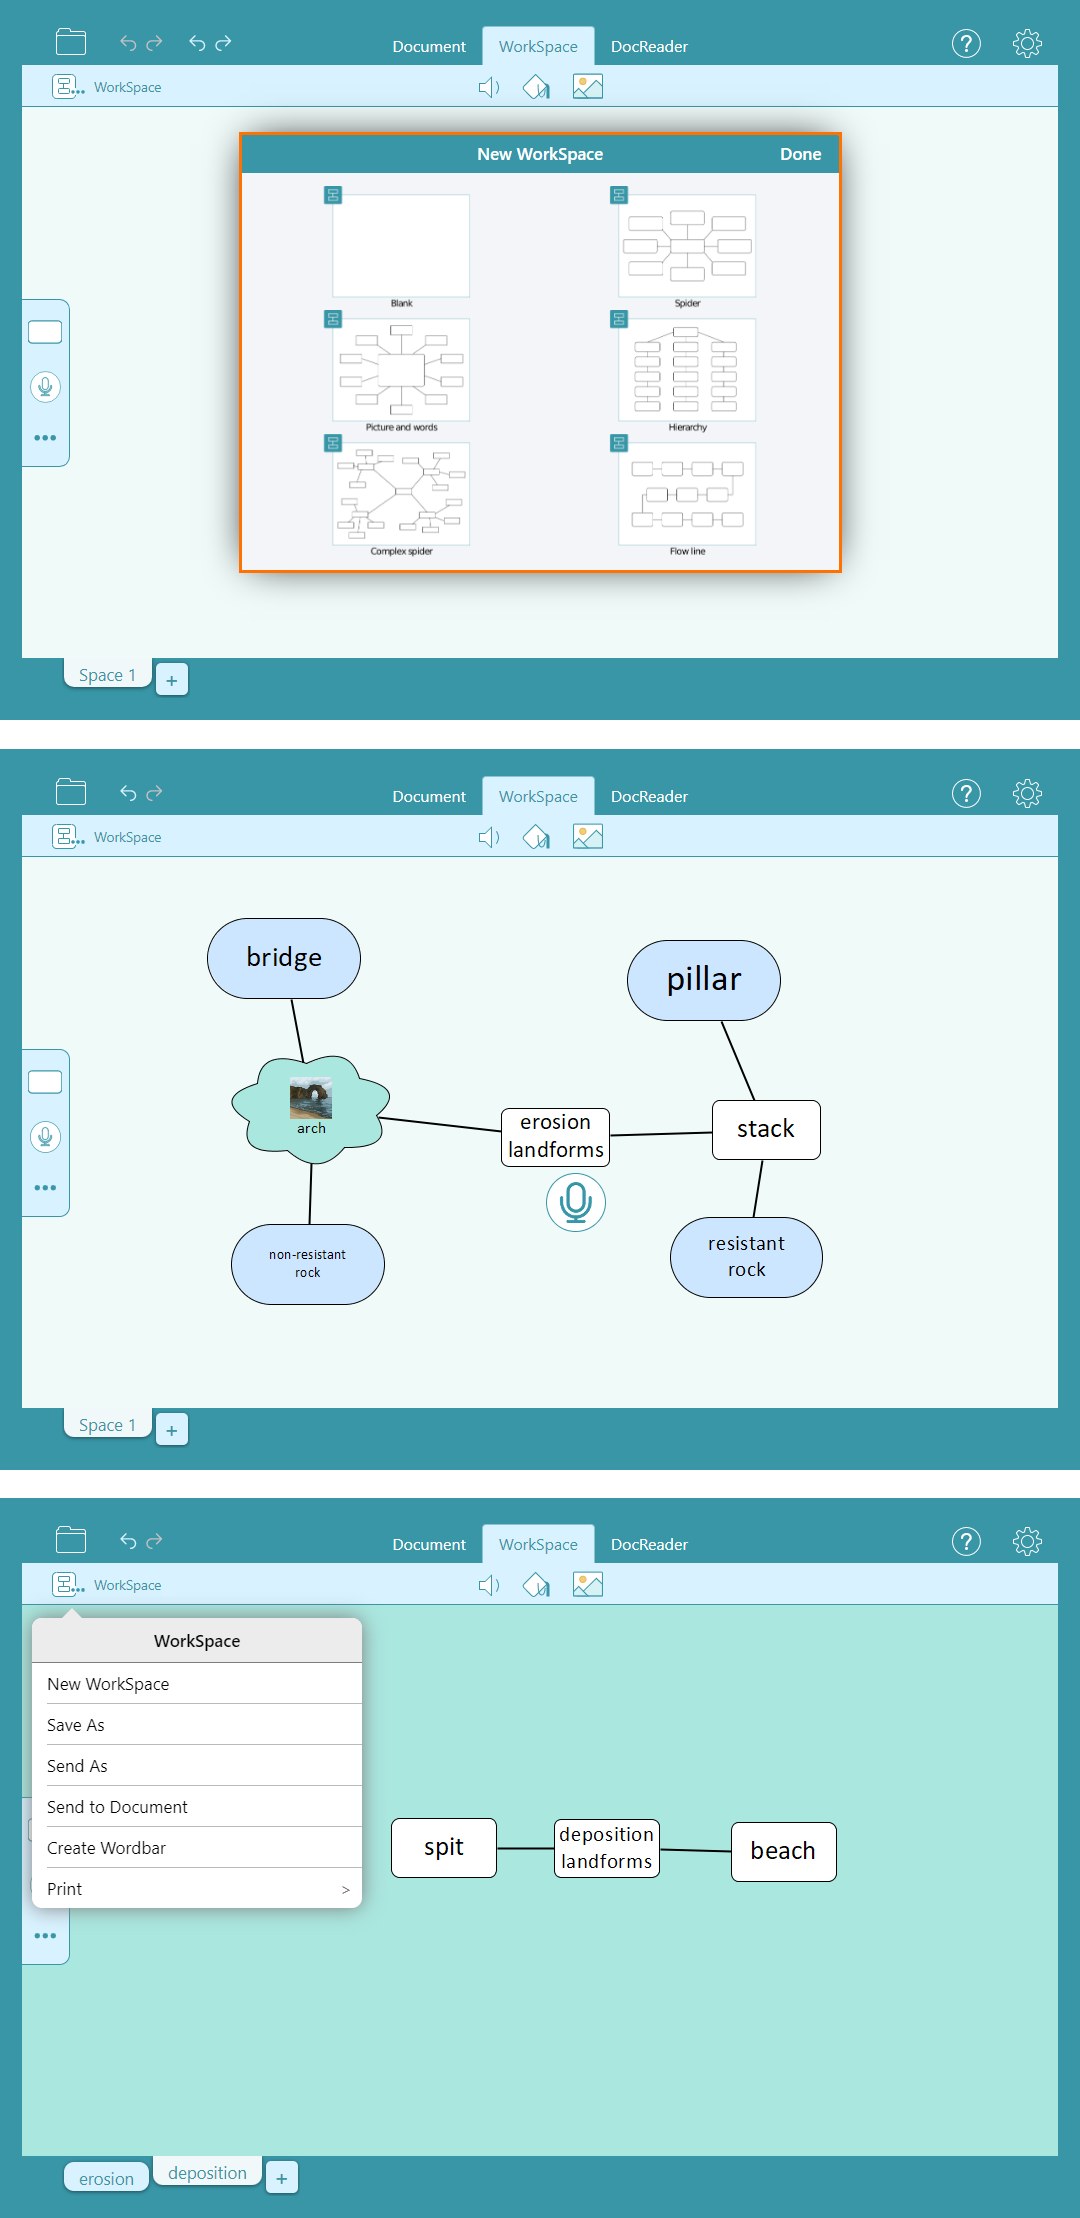
Use a WorkSpace to help students plan and develop ideas before writing:
- Select the WorkSpace tab.
- Select
 in the top toolbar, then choose New WorkSpace.
 - Choose a template to get started.
- There are different ways to add a cell to your WorkSpace:
- Drag
 on to the WorkSpace.
 - Double-click on the WorkSpace.
- Drag from the round handles highlighting a previously placed cell to create a new cell linked to the first.
- Drag
 on to the WorkSpace to add a Voice Note. Select
  in the top toolbar to make a recording.
- Drag
- Double-click a cell to add text.
- Link two cells by dragging from the round handle on to another cell.
- Select
 to add a new page to the WorkSpace:
- Move between the tabs to create or access more content.
- Double-click a tab to rename it.
- Move between the tabs to create or access more content.
- Send your mind map to the Document to support writing in different ways:
- Go to .
- Choose Send to Document to send your mind map to the Document as a diagram or text.
- Select Create Wordbar to turn your WorkSpace into a Wordbar.
- Go to
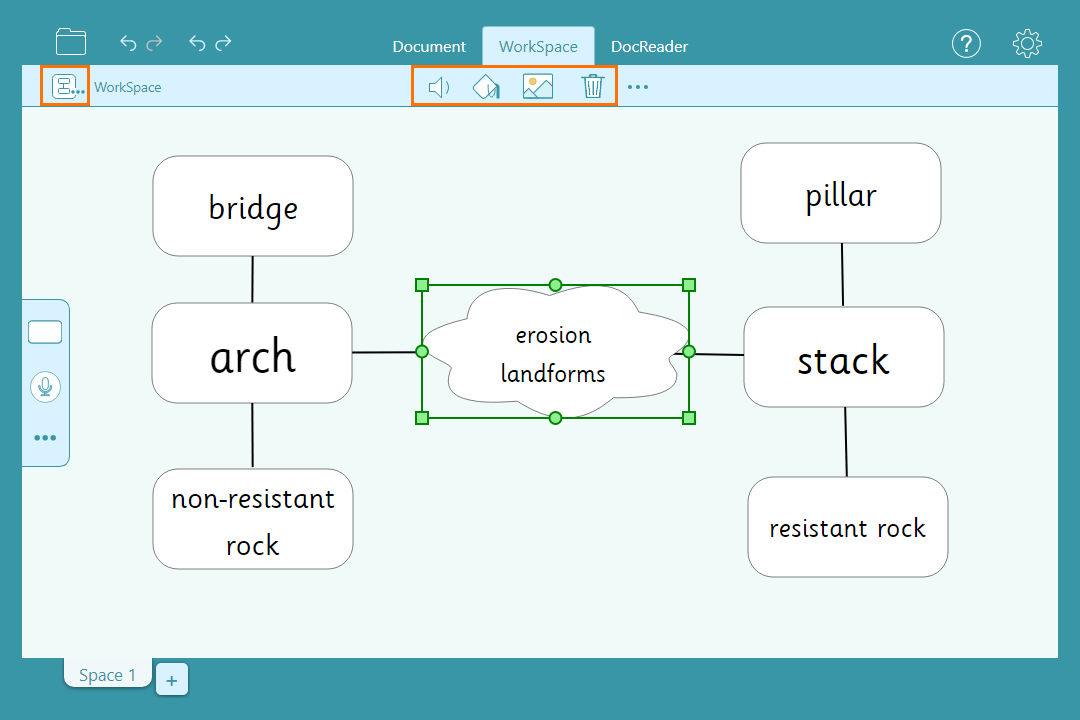
Edit a WorkSpace
Edit a WorkSpace to organise ideas more clearly:
- Drag the square handles to re-size a cell.
- In the left toolbar:
- Click
 with a cell selected to choose a new shape for the cell.
- Click
- In the top toolbar:
- Go to
 with a cell selected to add a picture to the cell.
 - Go to
 with a cell selected to change the colour of the cell.
- Go to
- Select multiple cells to change their appearance or move them at the same time. To do this:
- On a Chromebook, click cells while holding ctrl.
- On an iPad, tap Select in the top toolbar, tap cells to select them, then tap Select again.