Create and edit a Wordbar

Create a Wordbar
Create grids to support students’ writing:
- Go to
 and choose New Wordbar.
 - Go to
 and select Add Multiple Grids. Choose whether to sort vocabulary into Topic grids or Alphabetical grids.
 - Type or paste text into the text box to make your Wordbar and choose whether to filter out the 100 most common English words. Add brackets around words to group them in a cell.
- Click Create Grids to create your Wordbar.
- Click Done to use your Wordbar.
Edit a Wordbar
Edit a Wordbar to provide different levels of support for students:
- Go to
 to open Edit View.
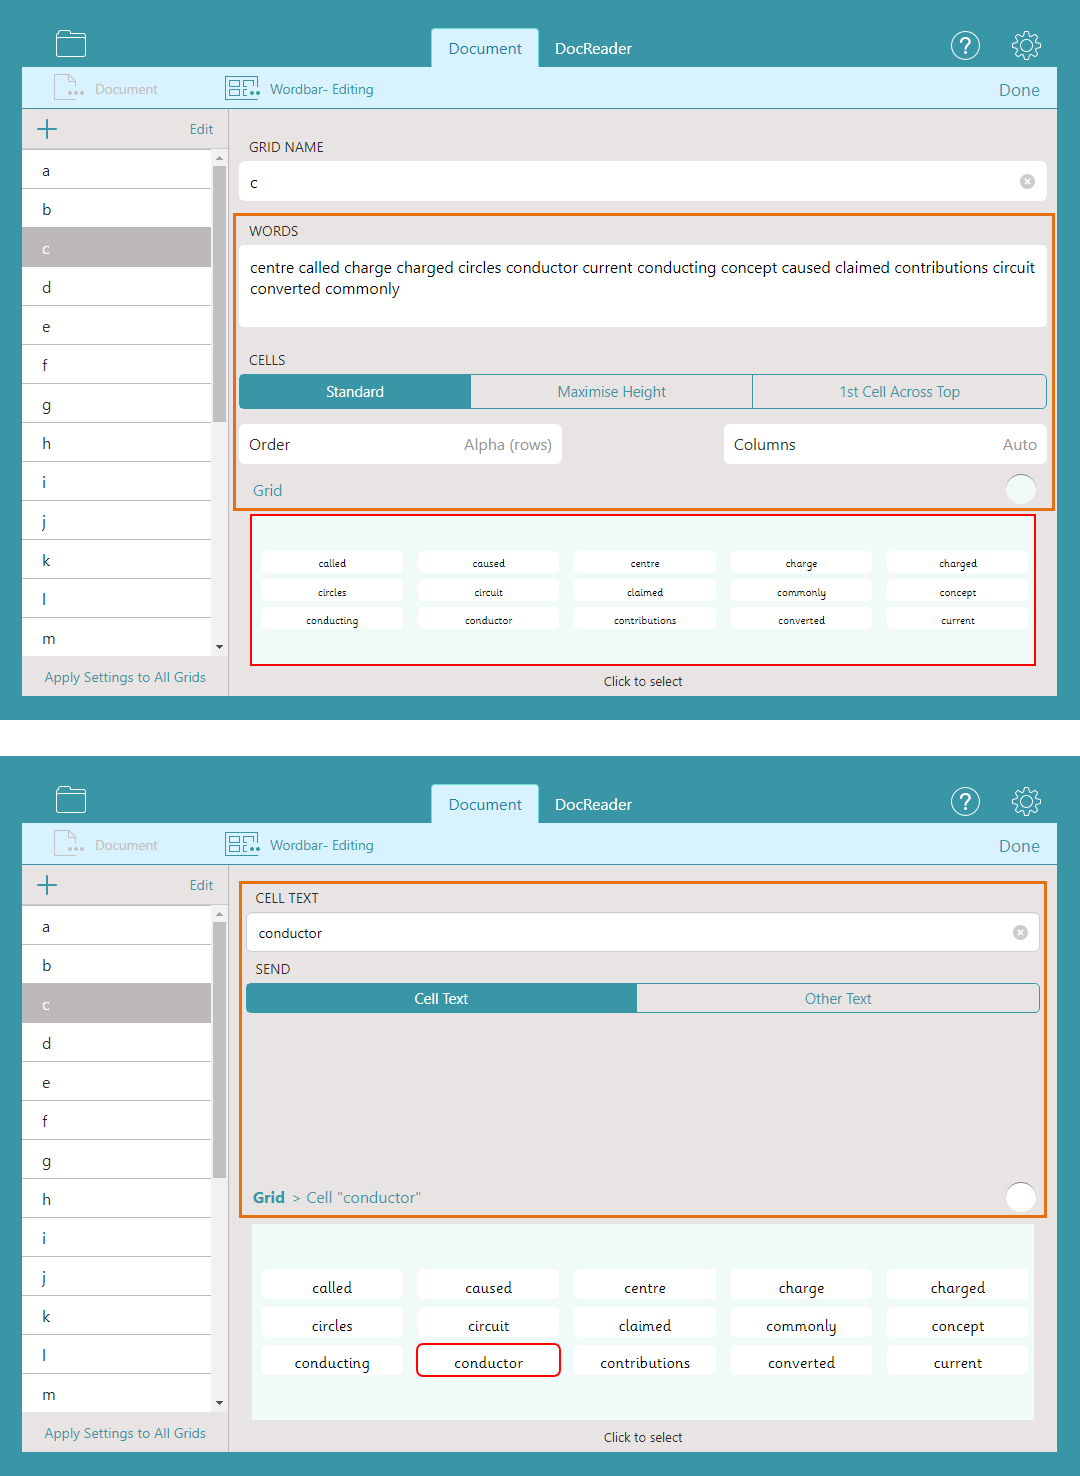
 - Add or delete vocabulary offered in a grid by typing in the Words text box.
- Select the Order drop-down box to change the order cells appear in the grid.
- Change the Cells setting from Standard to Maximise Height or 1st Cell Across Top to change the appearance of cells in the grid.
- Select the Columns drop-down box to change the number of columns in a grid.
- Select
 and choose from the colour palette to change the colour of a grid.
 - Select a cell to change its appearance or to add other text to the Document when the cell is selected.
- Go to and choose Add New Grid to create a new grid.
- Select Edit then drag grids in the sidebar to reorder them.
- Choose Apply Settings to All Grids if you want changes to be applied to the whole Wordbar.