Saving, sharing, and printing
Saving, sharing, and printing
-
Introduction
-
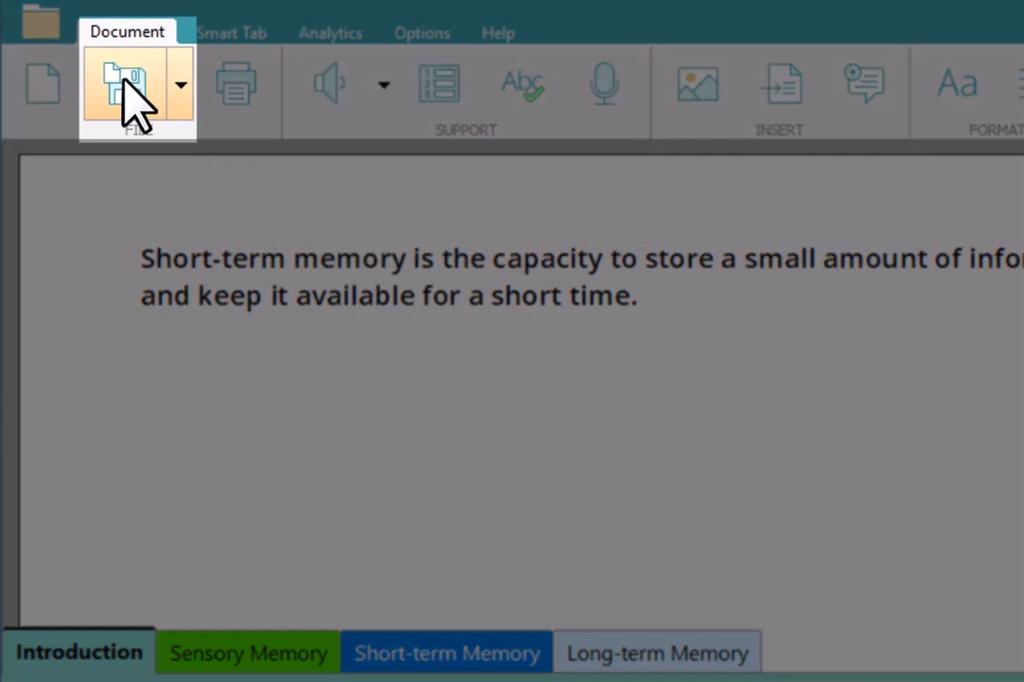
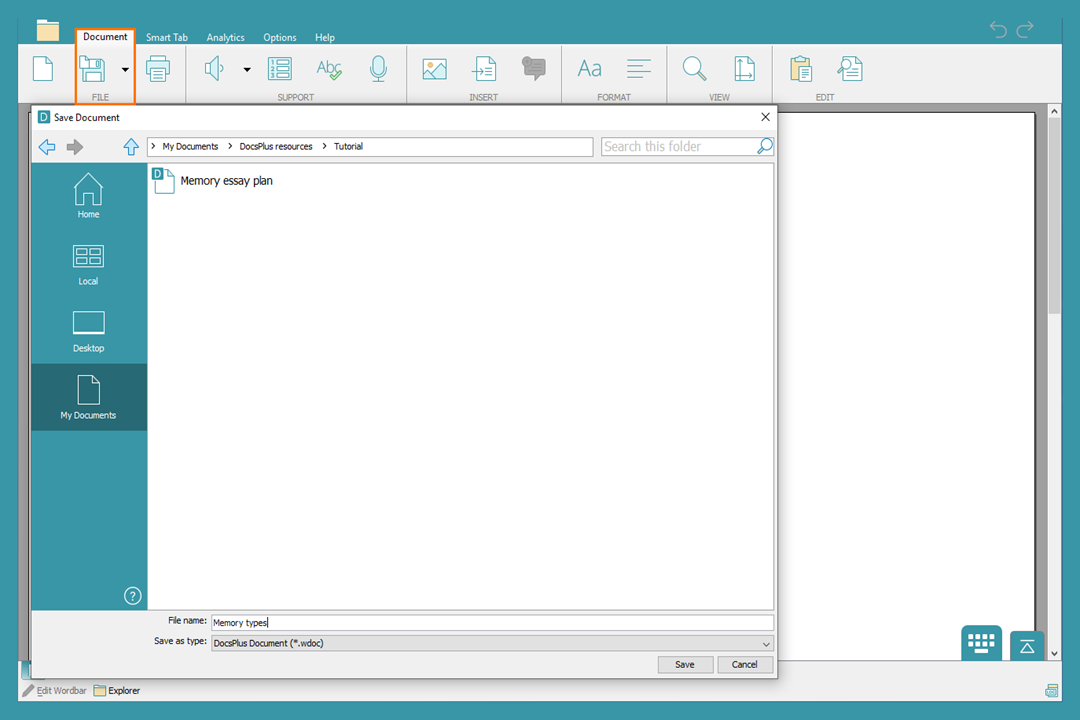
Save a Document
-
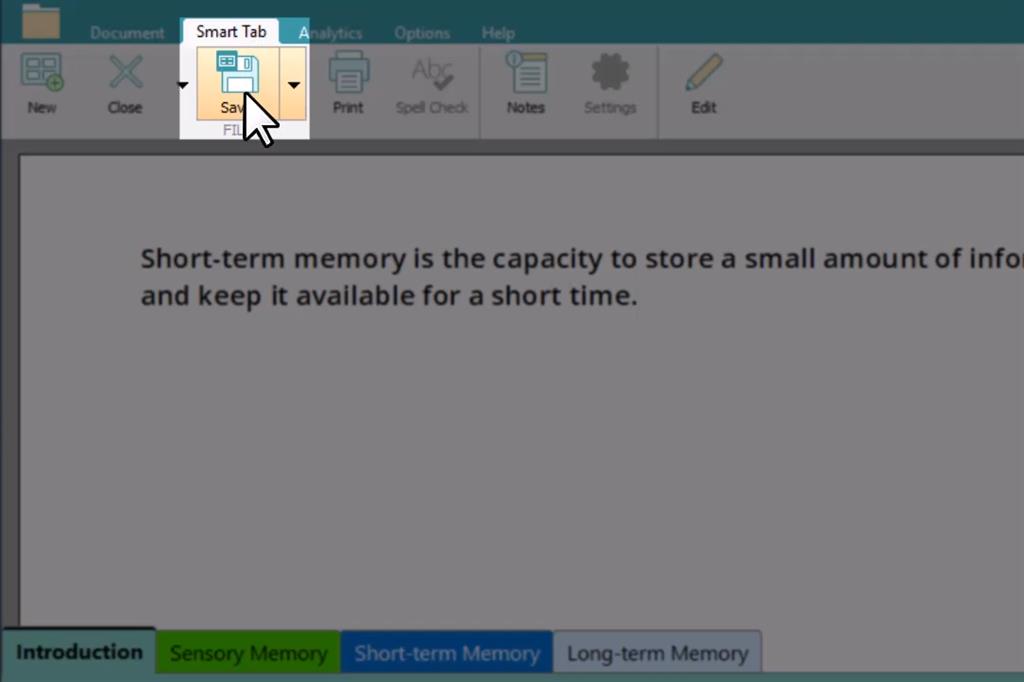
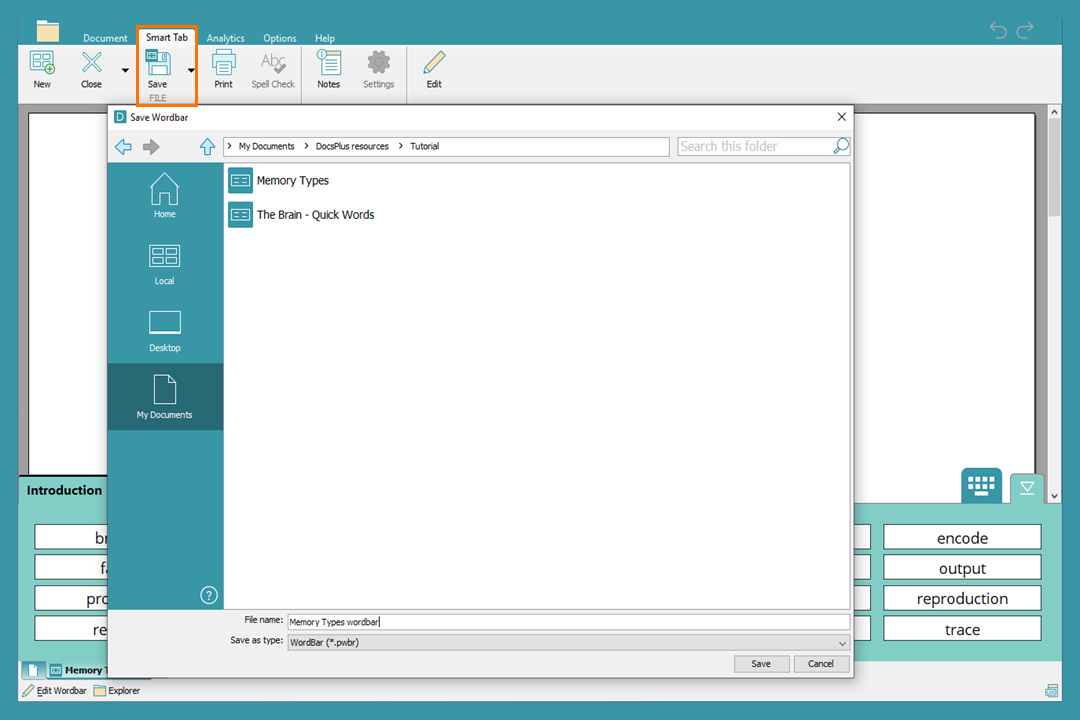
Save a Smart Tab
-
Share via cloud storage
-
Share via a network
-
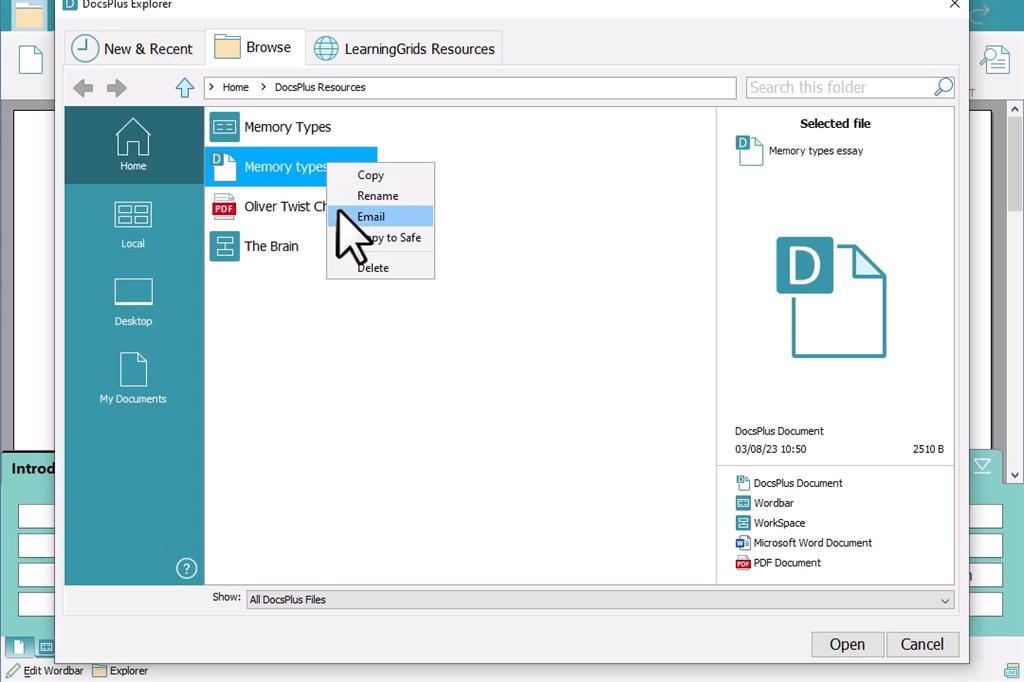
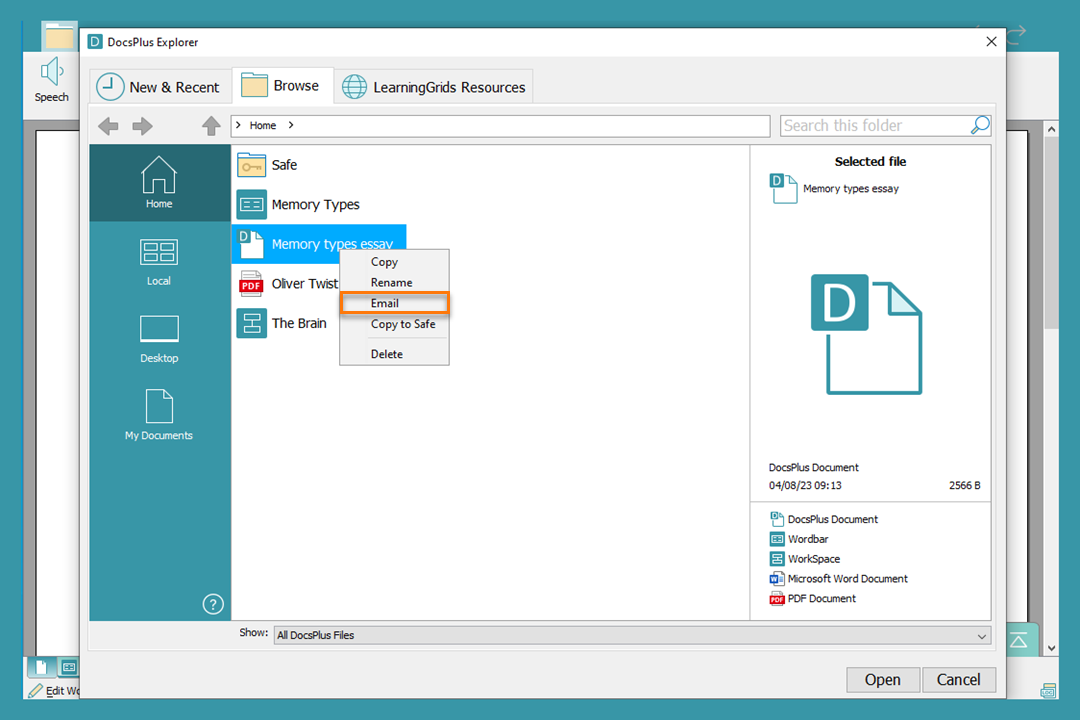
Share via email
-
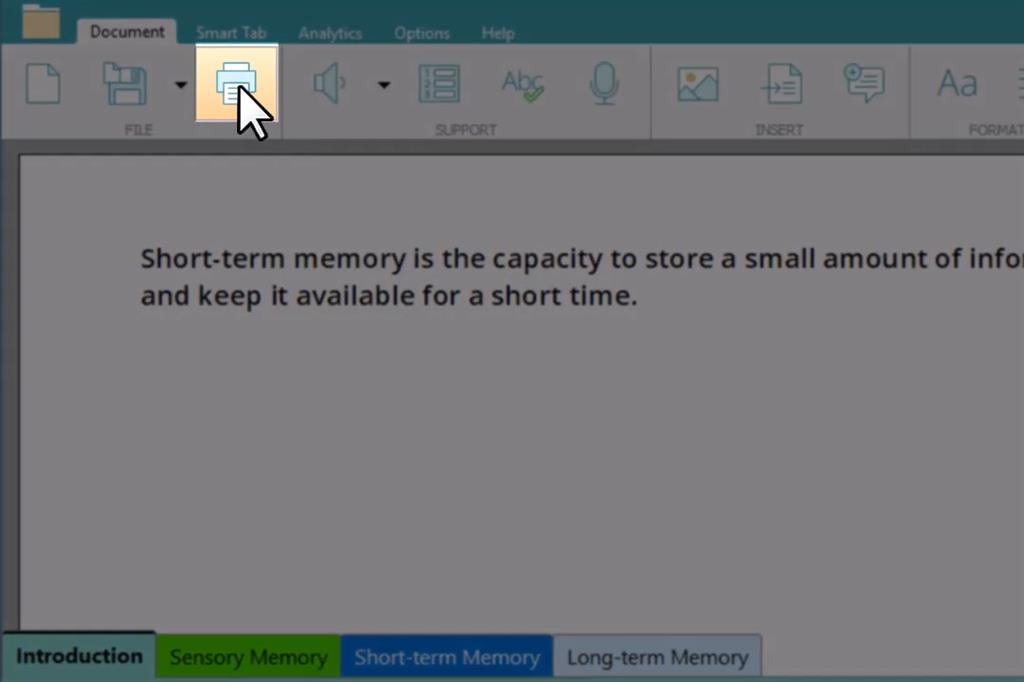
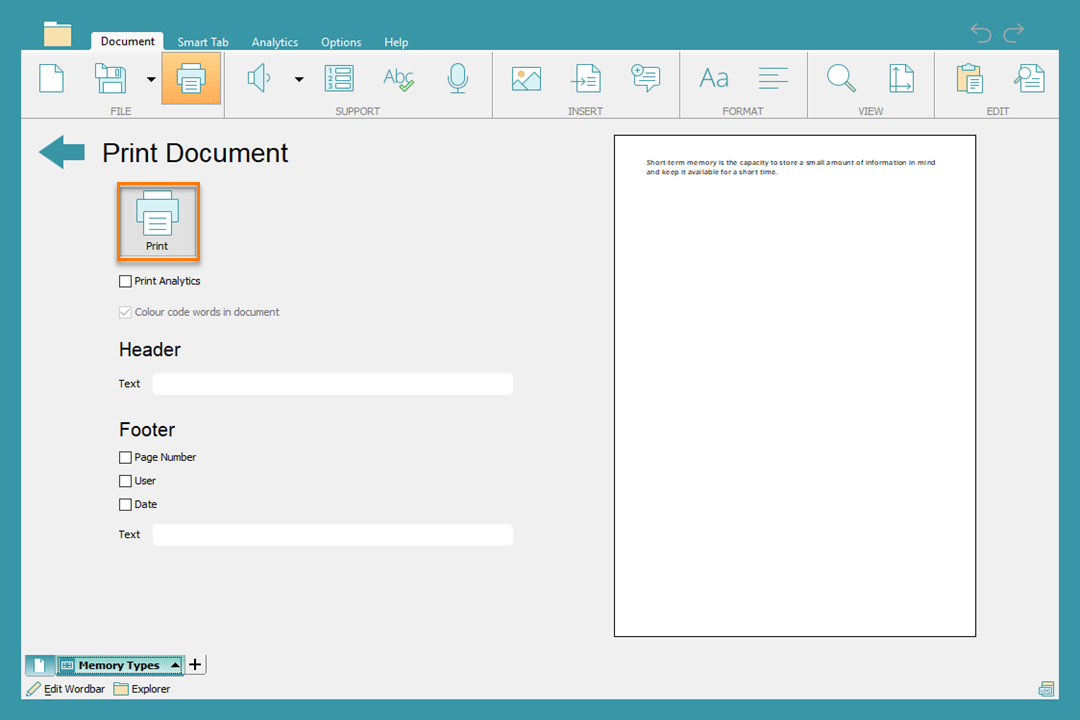
Print a Document
-
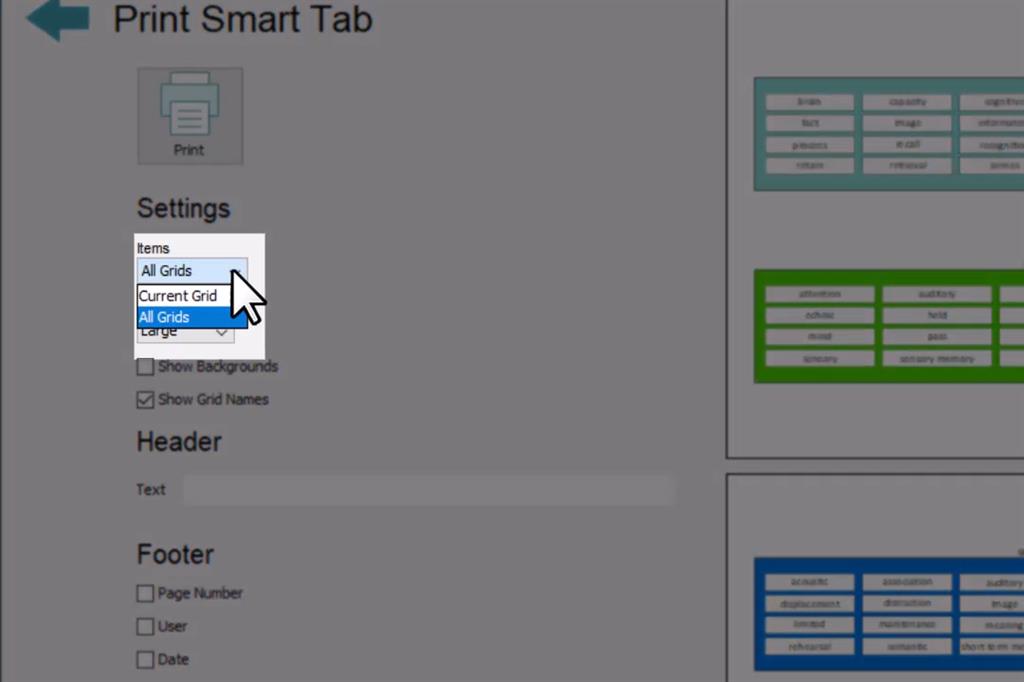
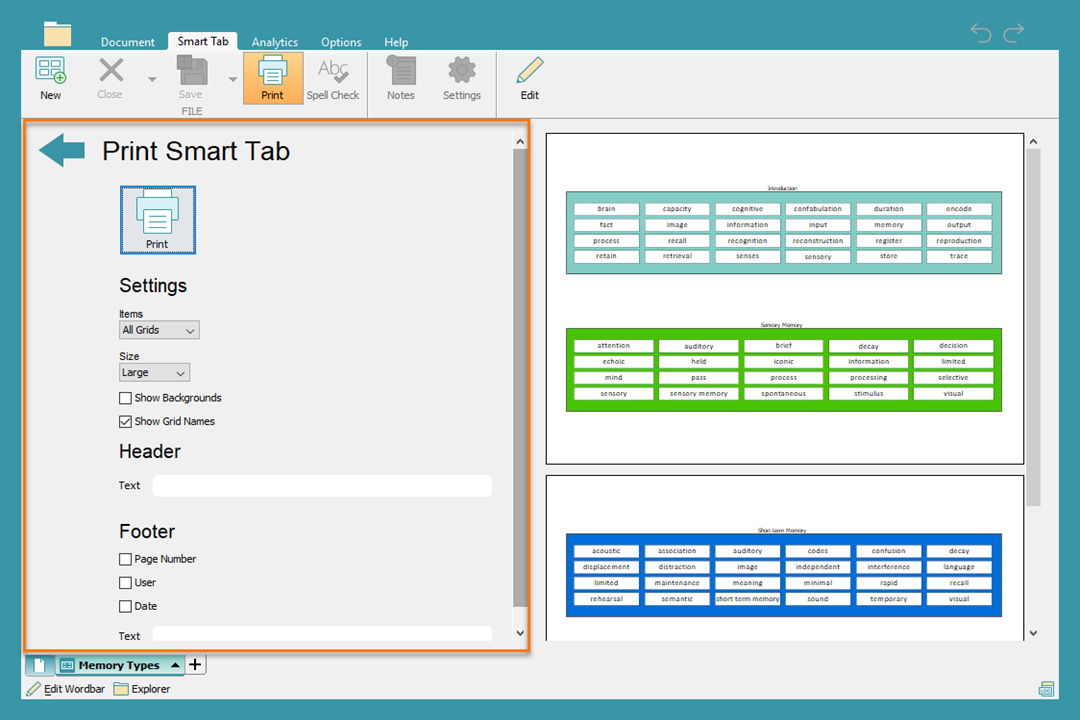
Print a Smart Tab
Saving DocsPlus files
Save DocsPlus files to work on or use later.
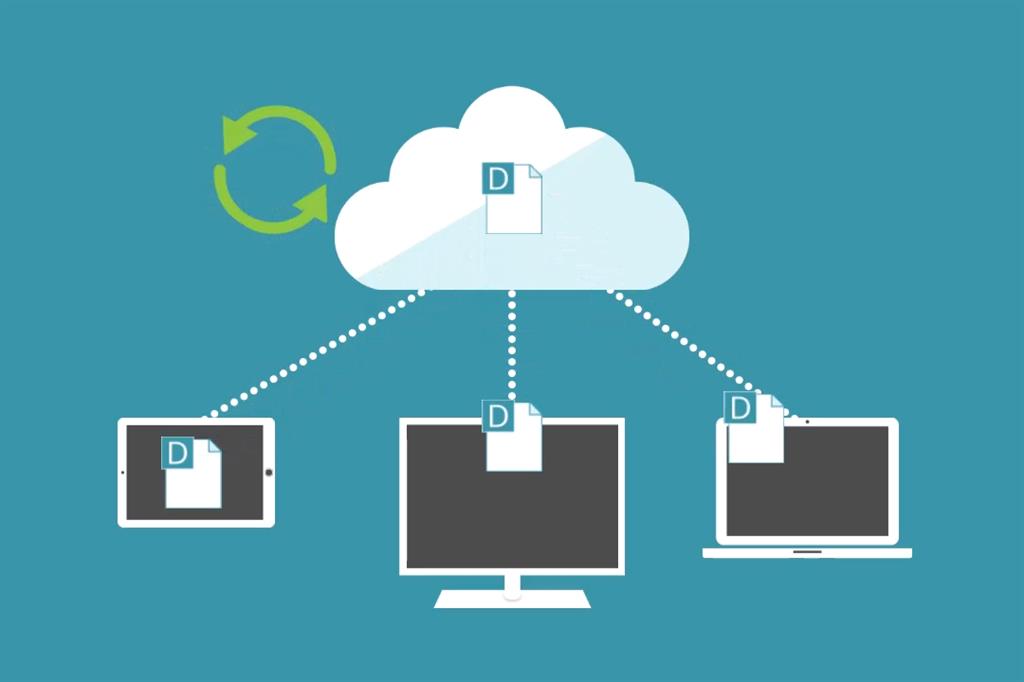
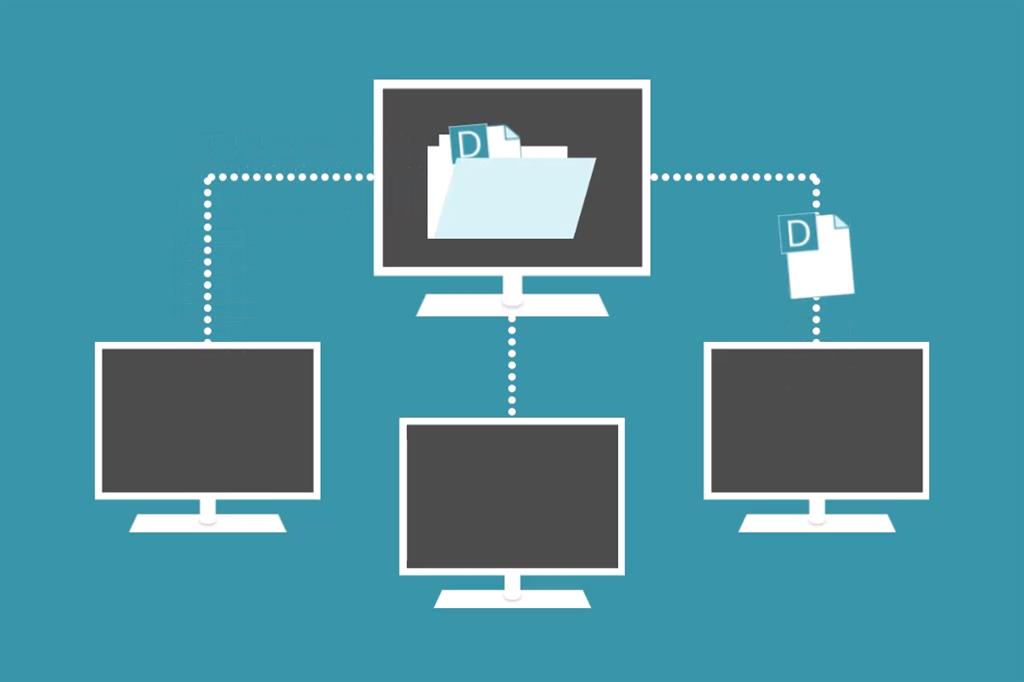
Sharing DocsPlus files
Share a DocsPlus file to open it on another device or make it available to other staff and learners.
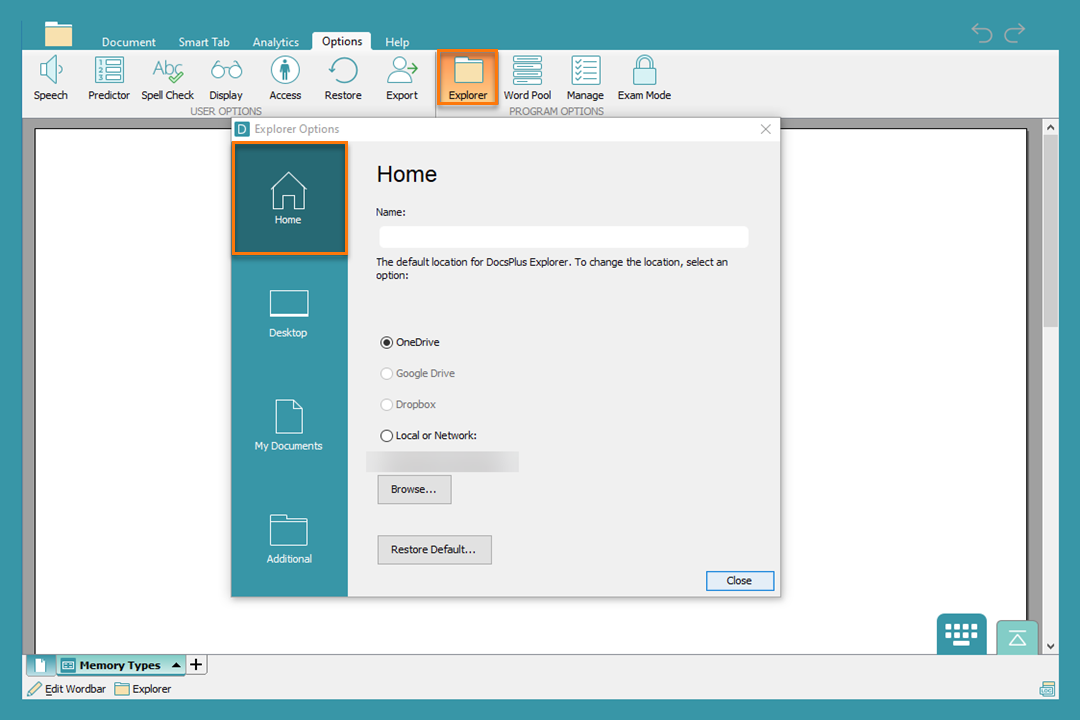
Share via cloud storage
Use cloud storage, such as Google Drive or OneDrive, to share your DocsPlus files:
- Cloud storage can be set as the default file location for your Home folder in Options. Ask your IT team to set this up – Set up cloud sharing in DocsPlus.
- Save files in the Home folder to automatically share them.
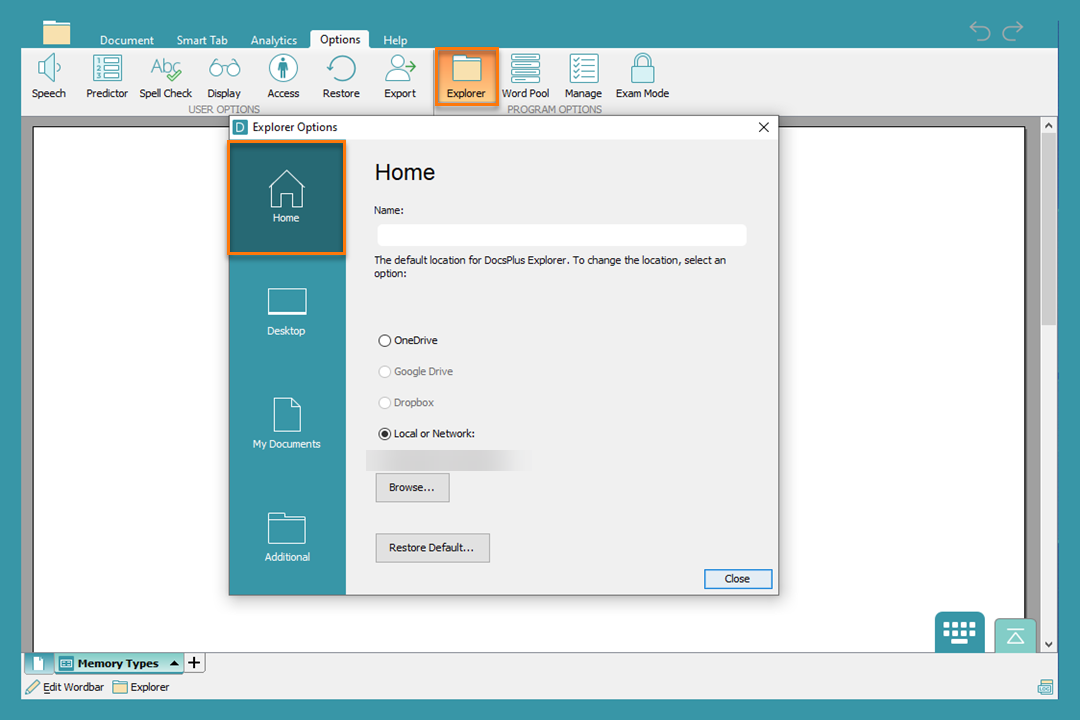
Share via a network
Use your organization’s network to share your DocsPlus files:
- Your organization’s network can be set as the default file location for your Home folder in Options. Ask your IT team to set this up – Set up network sharing in DocsPlus.
- Save files in the Home folder to automatically share them.
Printing DocsPlus files
Print DocsPlus Documents or Smart Tabs.
Top tips
More useful information on saving, sharing, and printing DocsPlus files.
Top tips
-

Top tips
-
Customize your file explorer
-

Printing top tips
-
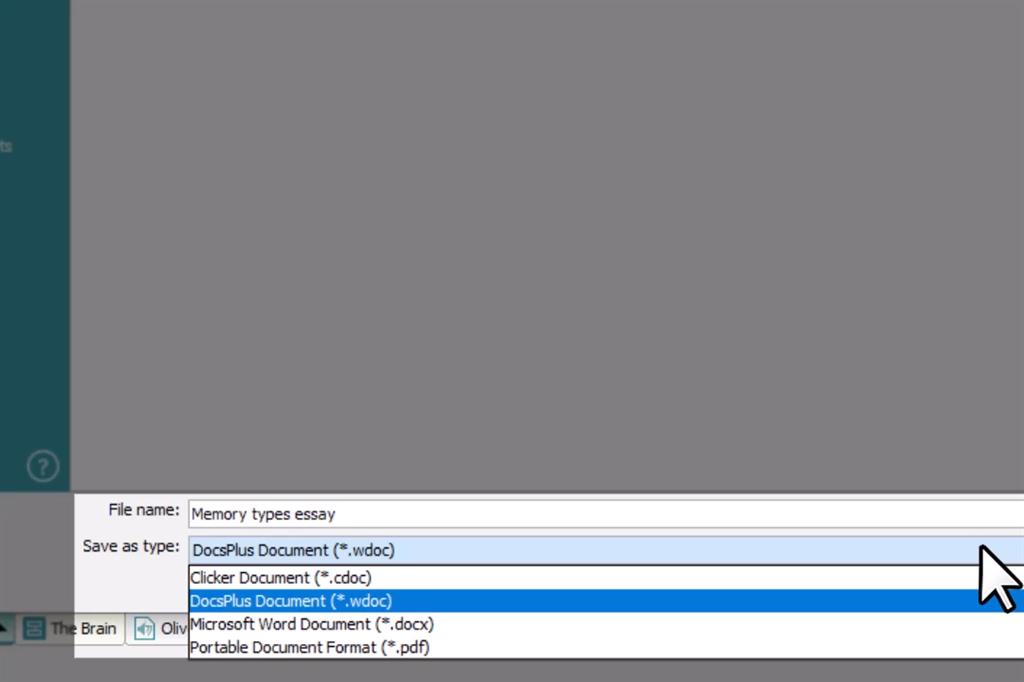
Save as type
-
Share via Google Classroom
-
Share via Microsoft Teams
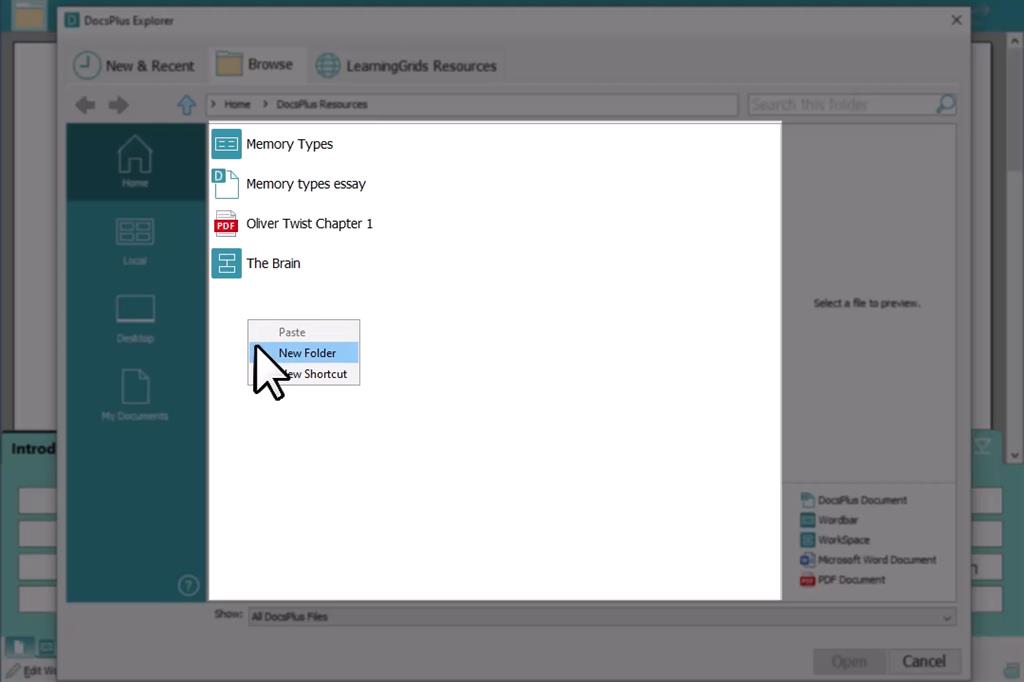
Managing the file explorer
Create folders and shortcuts to organize your DocsPlus files:
- Click
 to open the file explorer.
 - Right-click in the folder to create a new folder or shortcut.
- See our Tailor the Features tutorial for more information on customizing your file explorer.
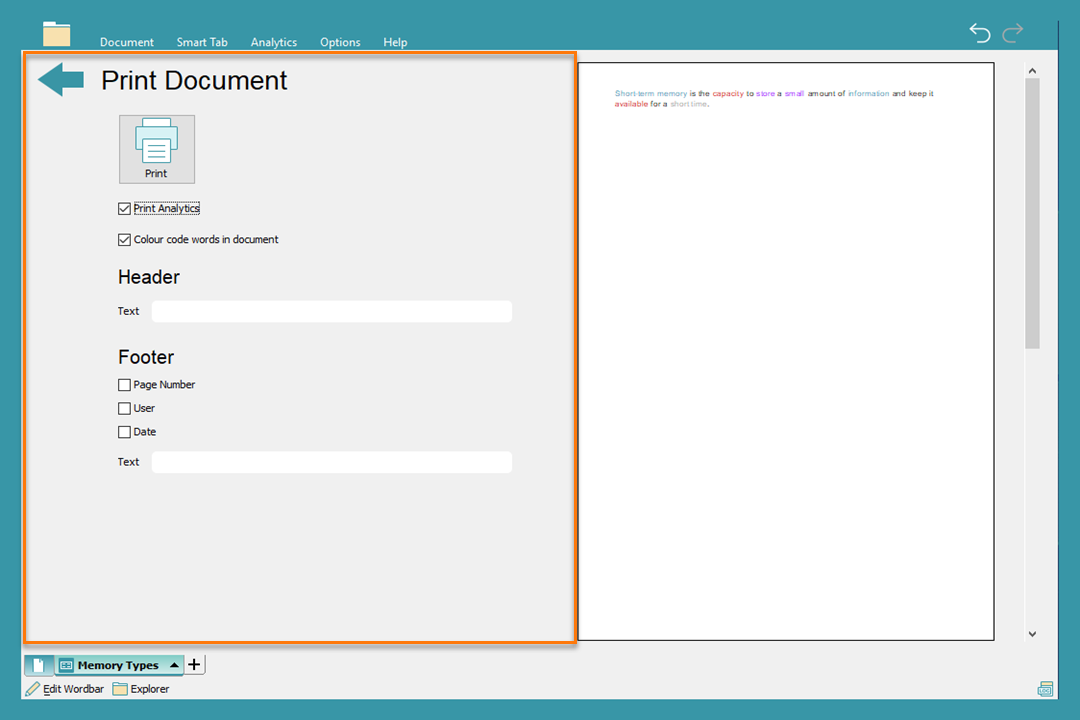
Printing tips
Change the settings when printing a DocsPlus Document or Smart Tab:
- Check the Print Analytics box to print data from Analytics alongside the Document.
- Change headers and footers to include dates, subjects, names, or other information to help with record keeping.
- Turn off Smart Tab backgrounds when printing to save ink.
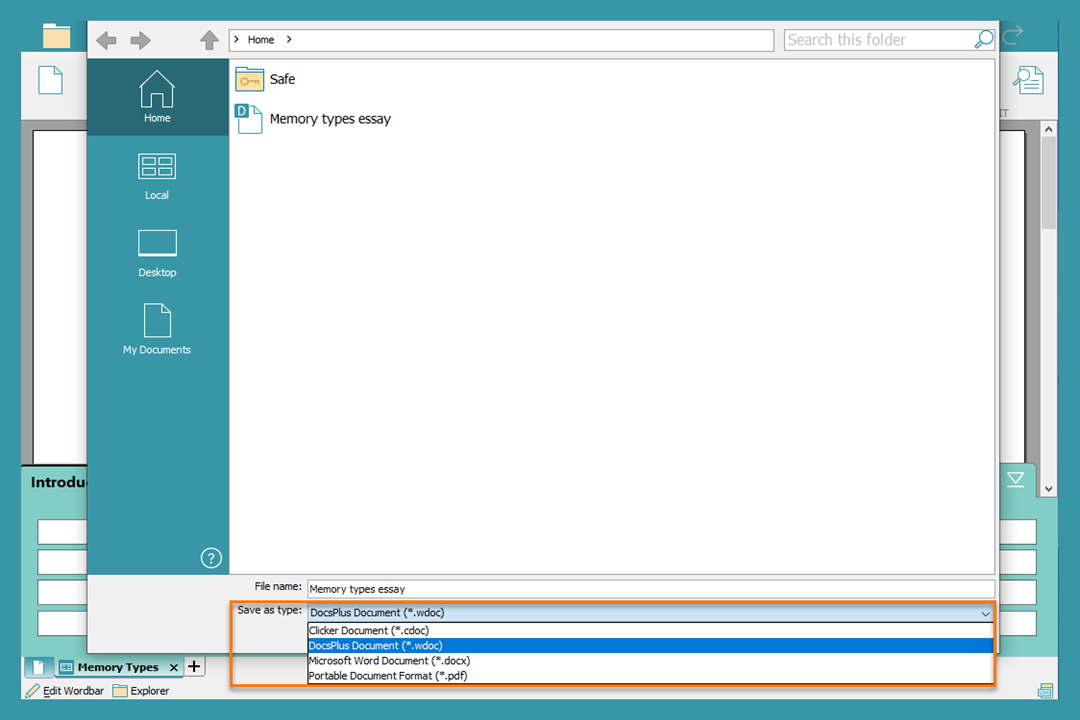
Saving tips
Click the Save as type drop-down box to save your Document in different formats:
- DocsPlus Documents can be accessed on other PCs with DocsPlus installed and iPads or Chromebooks with the DocsPlus App installed.
- Save as a DocsPlus Document to retain Analytics information and Voice Notes.
- Save as a Microsoft Word Document to be able to access and edit the Document on devices without DocsPlus installed.
- Save as a PDF to be able to access the Document on devices without DocsPlus installed without editing it further.
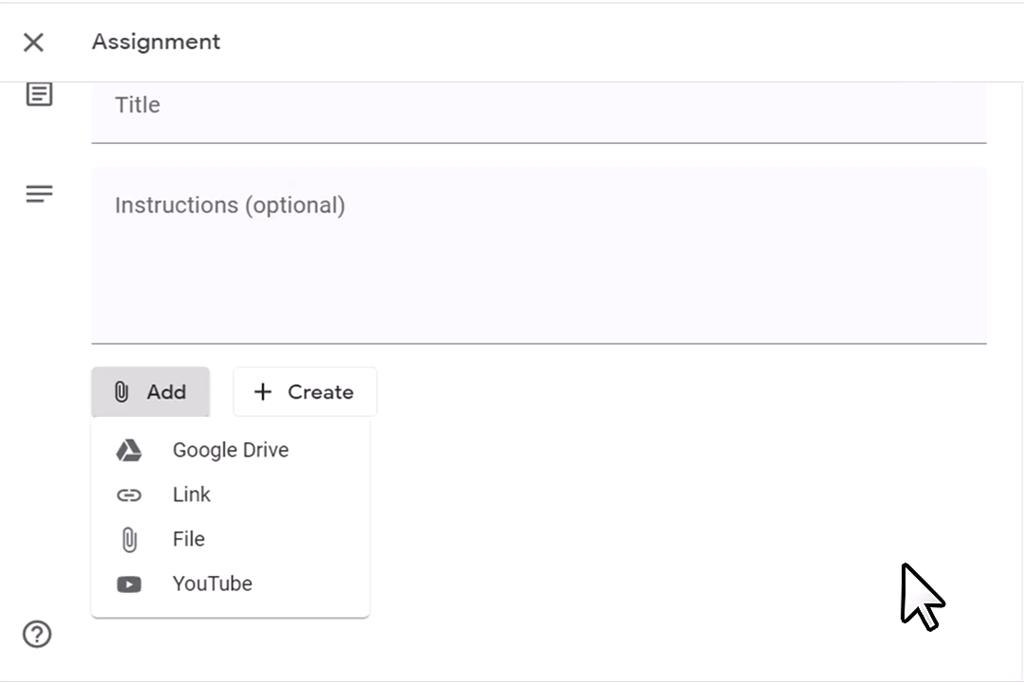
Share DocsPlus files via Google Classroom
- To share a DocsPlus file using Google Classroom, you will need to attach it to the relevant assignment.
- Download the file before opening it in DocsPlus.
- See our support article for step-by-step instructions on how to do this.
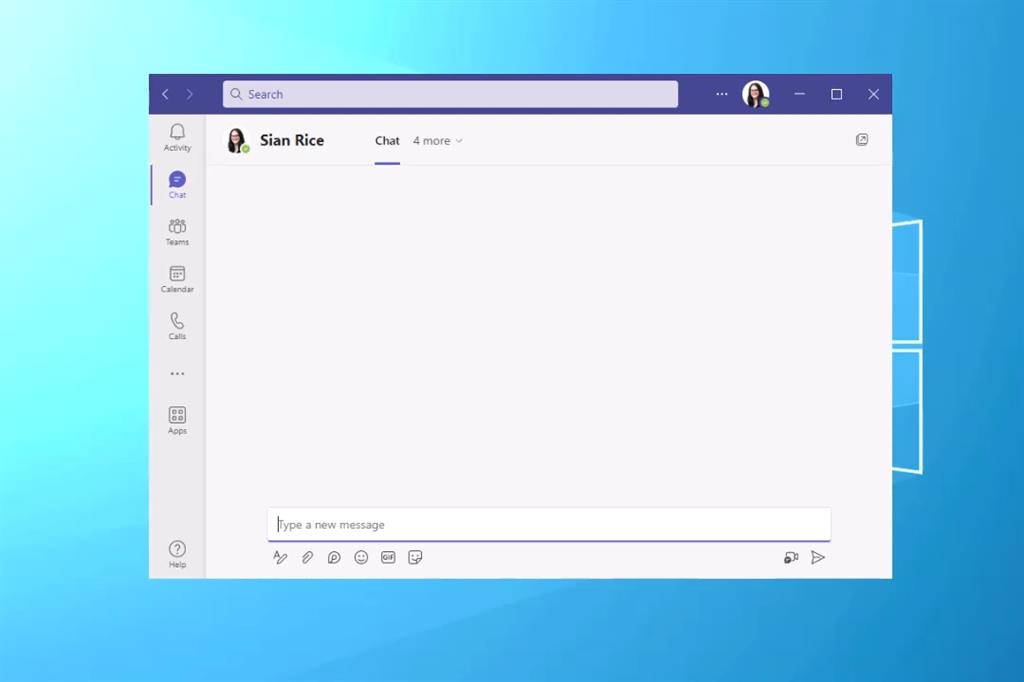
Share DocsPlus files via Microsoft Teams
- If the file you want to share is available in your computer’s file explorer, drag it into a message or the Files tab in a Teams Channel.
- You can also share by selecting Attach beneath the new message box:
- Select the file and then select Share or Open. This will upload a copy of your original file.
- All the files you share in a chat are available in the Files tab at the top of your chat.