Create and edit a Wordbar
Create a Wordbar
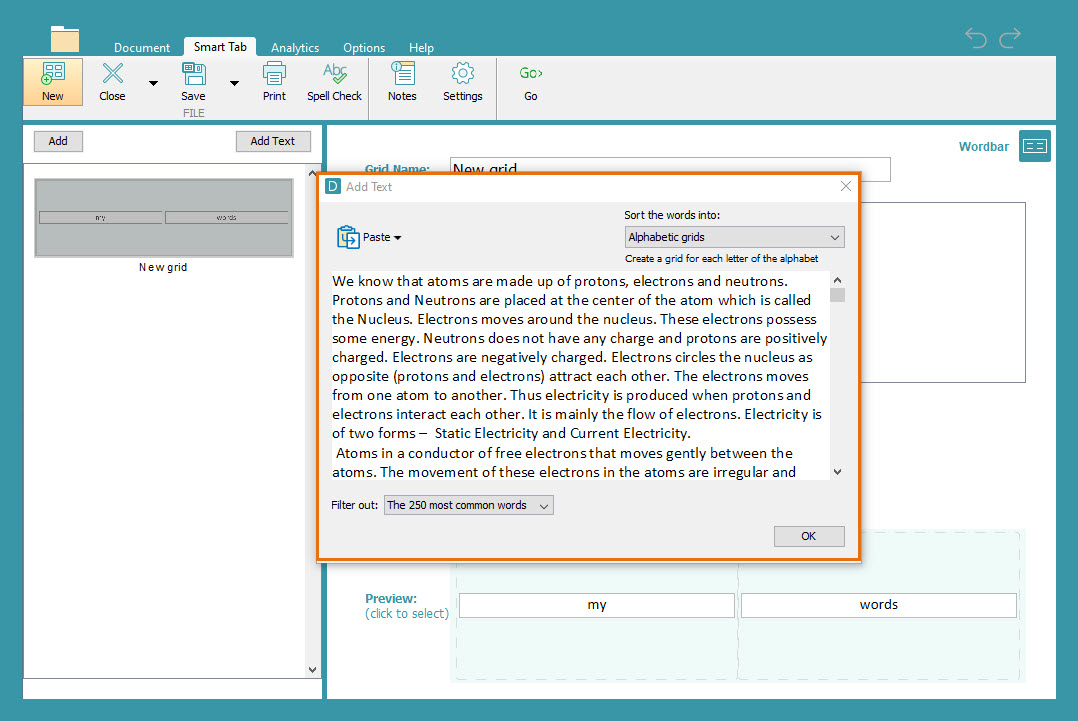
Create grids to support a student’s writing using subject specific vocabulary:
- In the Smart Tab ribbon, click New.
- Choose whether to sort vocabulary into topic tabs or alphabetical tabs or create a writing frame.
- Type or paste text into the text box to make your Wordbar. Choose how many common words you want to filter out with the drop-down box. Click OK to create your Wordbar.
- Add brackets around words to group them in a cell.
- Click Go to use your Wordbar.
- In the Smart Tab ribbon, click Save to save your Wordbar.
Edit a Wordbar
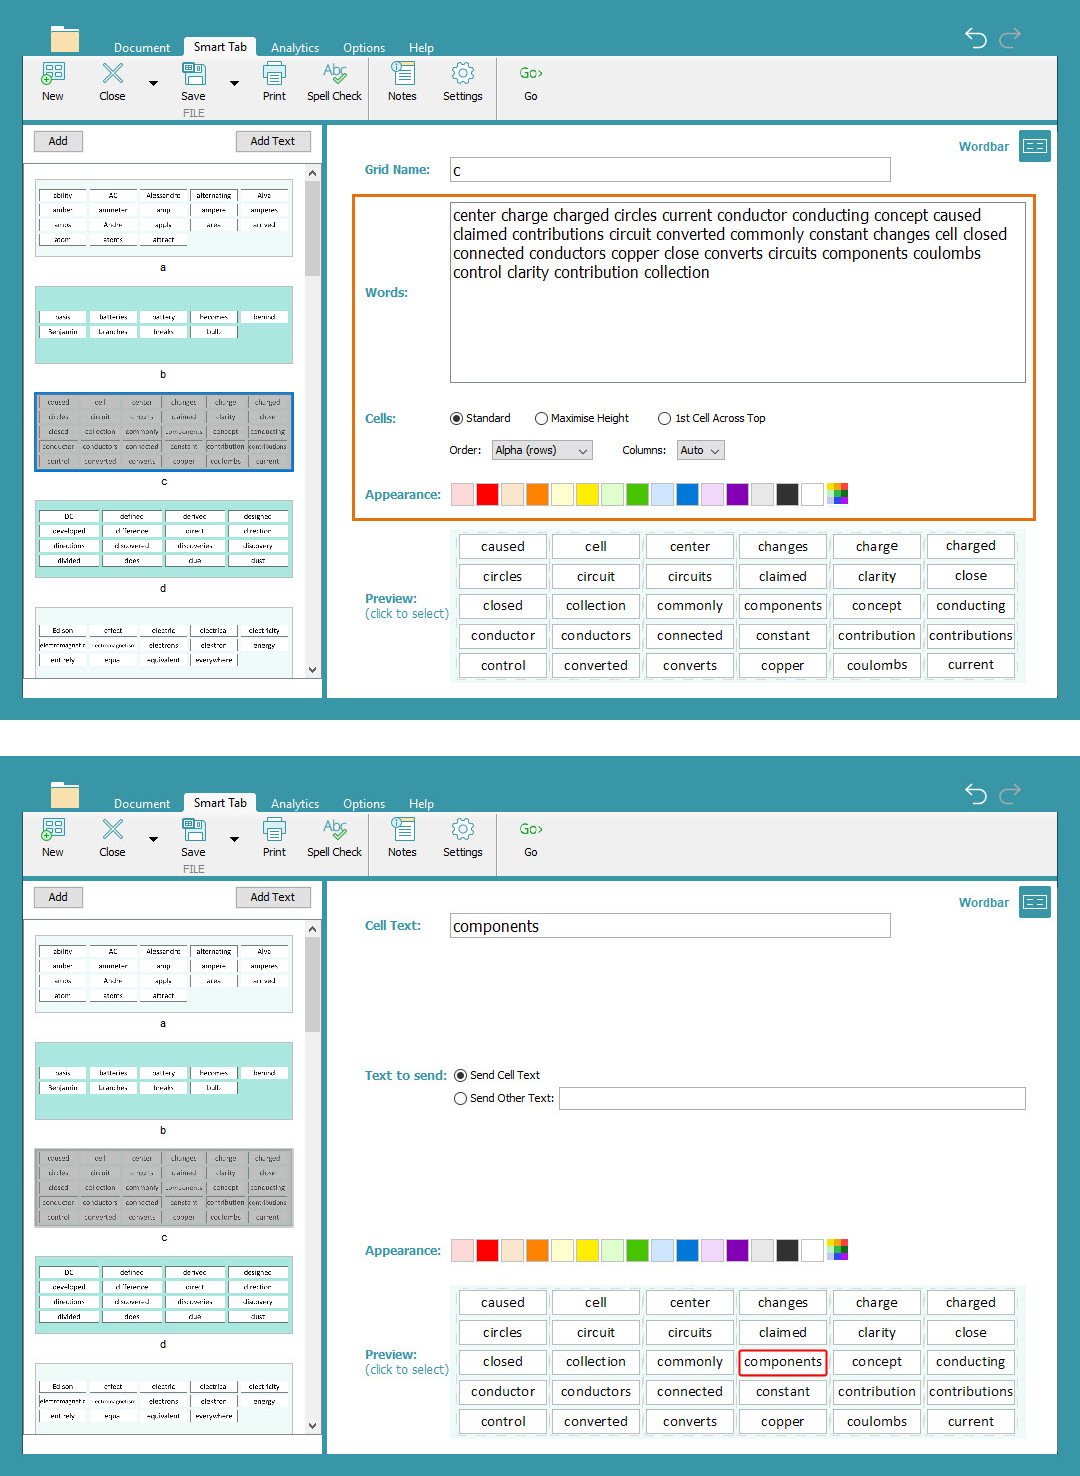
Edit a Wordbar to provide different levels of writing support for students:
- In the Smart Tab ribbon, click Edit to open Edit View.
- Add or delete vocabulary offered in a grid by typing in the ‘Words’ text box.
- Click the ‘Order’ drop-down box to change the order cells appear in the grid.
- Change the Cells setting from ‘Standard’ to ‘Maximize Height’ or ‘1st Cell Across Top’ to change the appearance of cells in the grid.
- Click the Columns drop-down box to change the number of columns on a grid.
- Choose from the color palette to change the color of a grid.
- Select a cell to change its appearance or to add other text to the Document when the cell is selected.
- Click Add to create a new grid.
- Click Add Text to create multiple grids.
- Click and drag grids in the sidebar to reorder them.